Getting Your Fabric Heating Right: A No-Nonsense Guide to Our IR Lamps
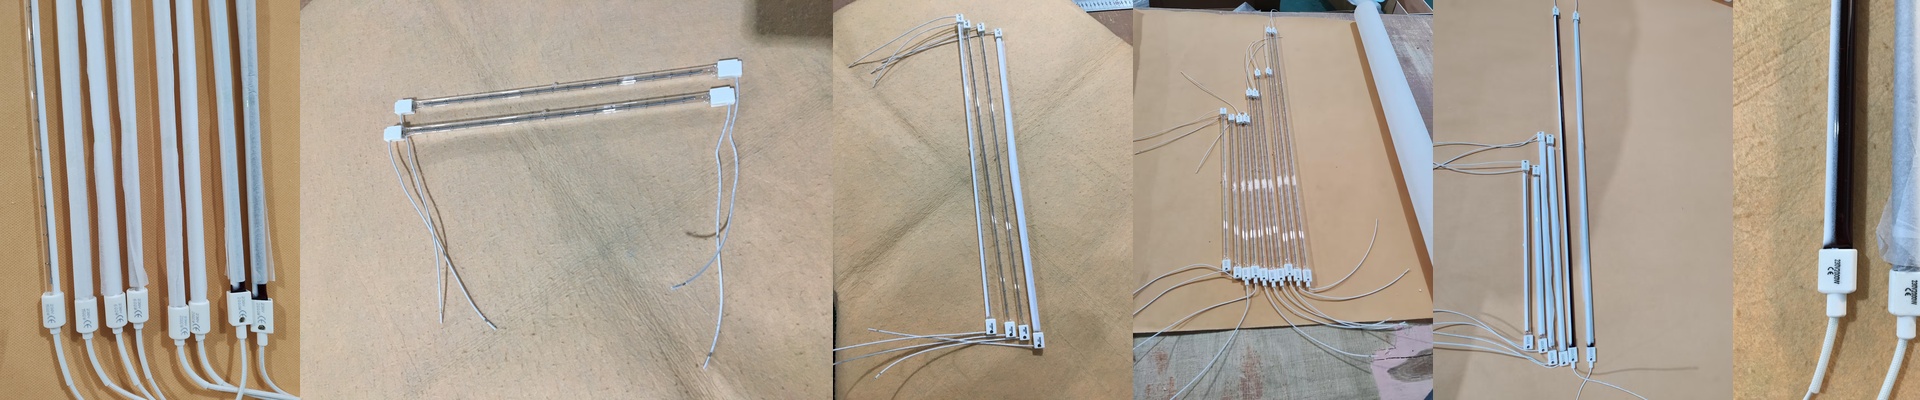
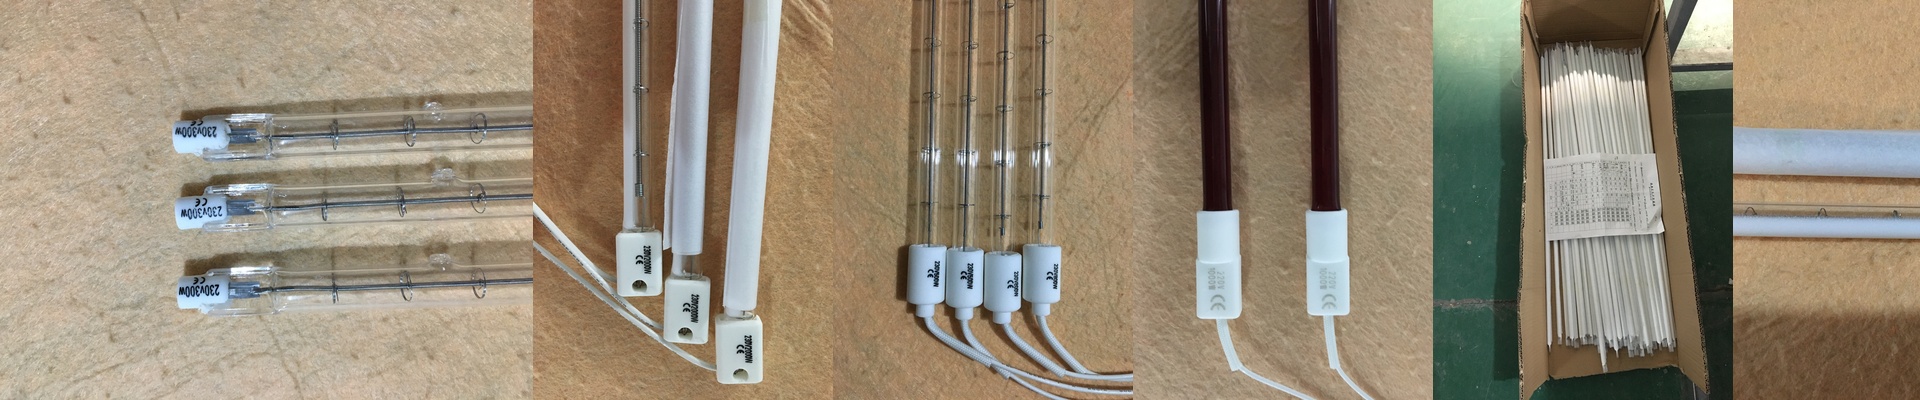
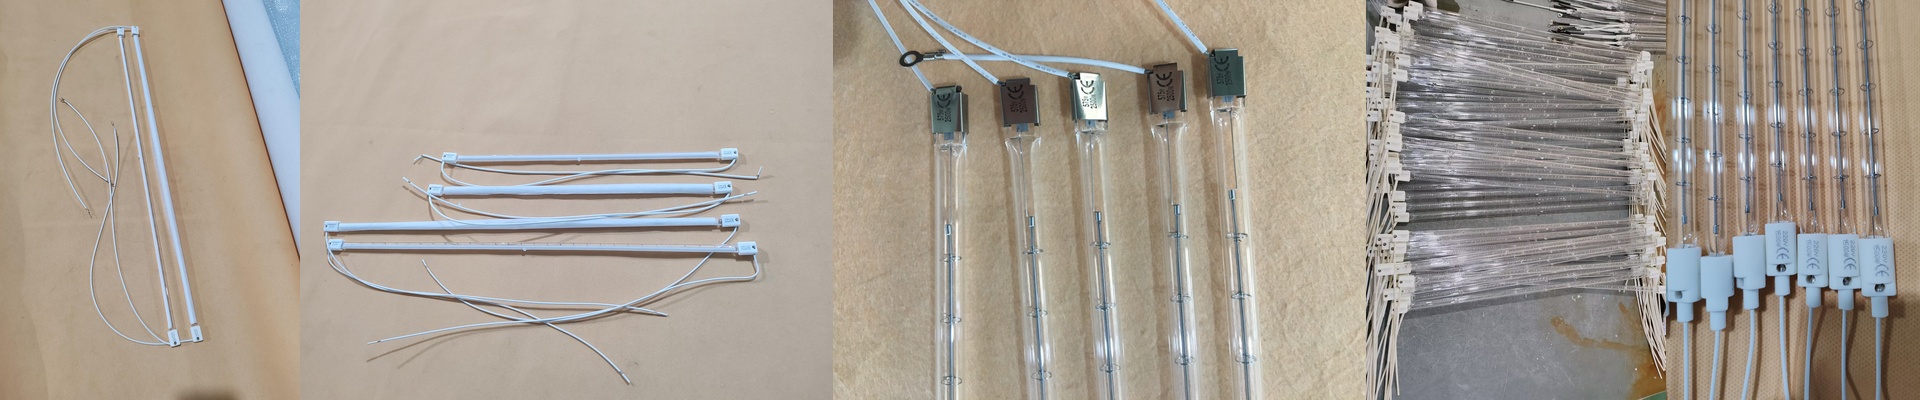
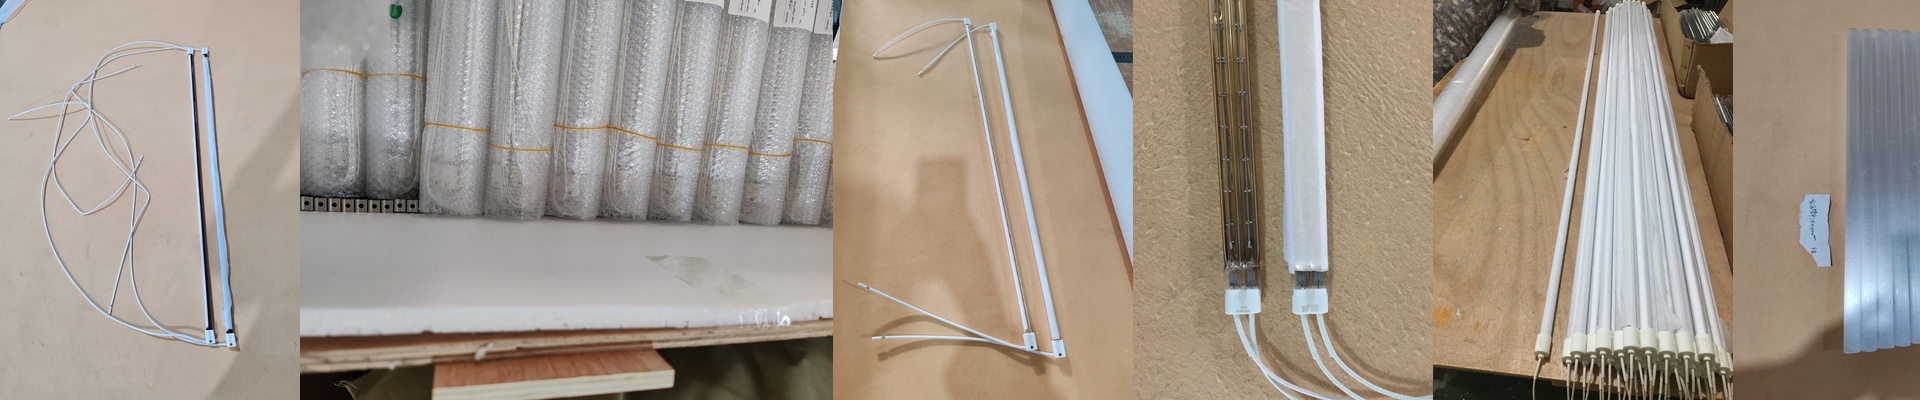
If you’ve spent any time on a production floor, you know the struggle. You need the dye to set and the moisture to vanish, but you can’t risk scorching the fabric. It’s a tightrope walk. That’s why we built our infrared lamps the way we did—focusing on short-wave radiation and a response time that doesn’t lag. Let’s talk power. To keep your lines moving fast, you need serious wattage. We’ve found that running a high-voltage setup gives you a much tighter heat footprint. The big win here? You can move the lamps closer to the fabric without worrying about those annoying, uneven hotspots. Just a heads-up: make sure your power supplies actually match the tube’s wattage. If you under-power them, the dye won’t penetrate. Over-power them, and you’ll fry the filament way too soon. The build quality We use high-purity quartz glass. Why? Because rapid cycling creates a lot of thermal shock, and cheap glass just can’t handle it. We also fill them with halogen gas so the glass stays clear instead of turning dark and murky over time. As for the plugs, we stick with standard R7s or SK15 connectors. They’re simple drop-in replacements for most of the big brands out there. Plus, they lock in tight, so you don’t have to worry about them vibrating loose while the machines are humming along. A few things to keep in mind Here’s the thing: these lamps put out a massive amount of heat. You’ve got to make sure your ventilation and cooling can keep up with the heat building up around the oven housing. If the air doesn’t move, the quartz envelope will overheat and eventually pop. We’re confident in these tubes. They’re built to take a beating in 24/7 environments. In fact, if the heat flux doesn’t match the premium brands you’re using now, we’ll just refund you the price difference. Just wire them up, tweak your PID controllers for the new batch’s wattage, and you’re good to go.