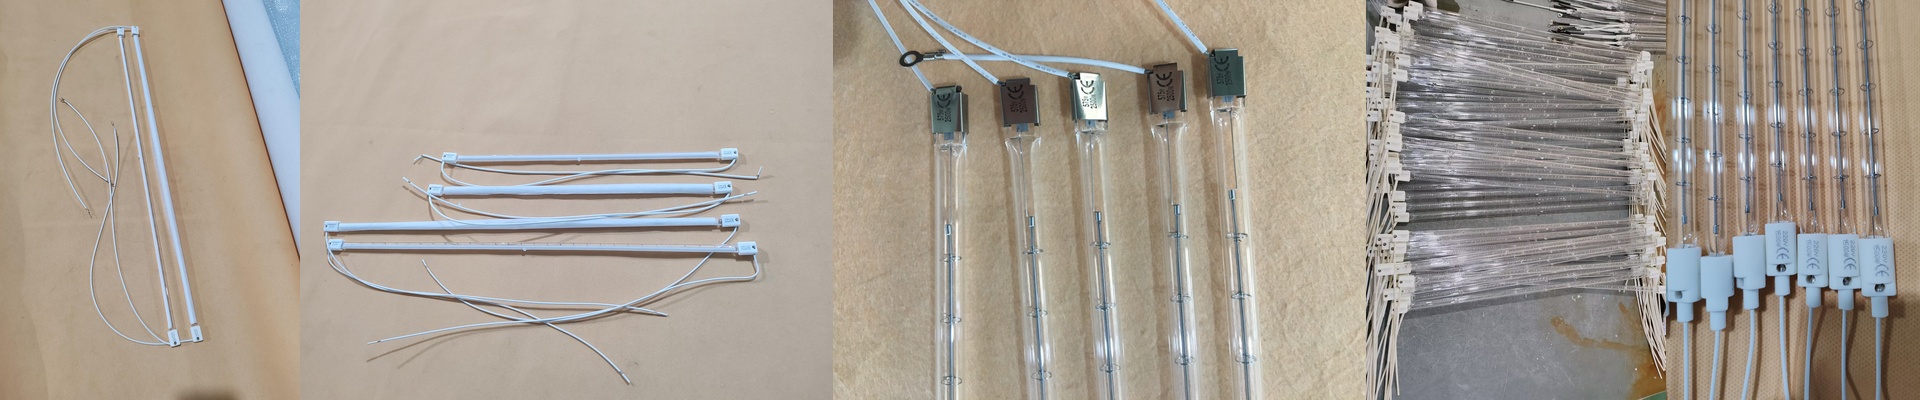
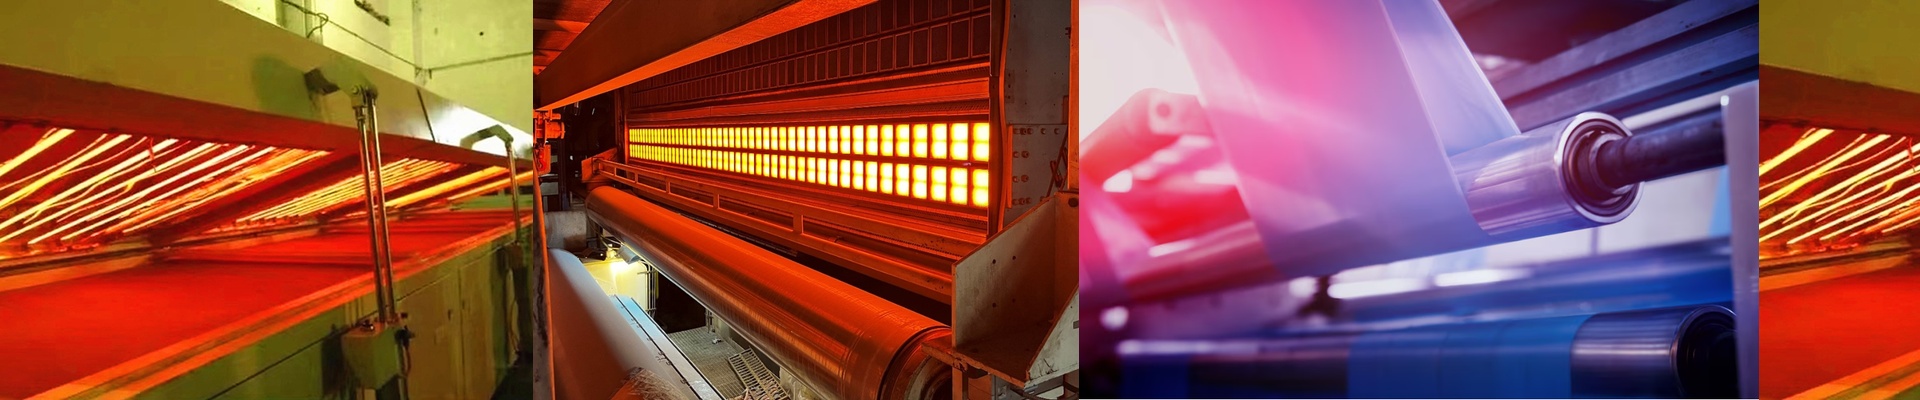
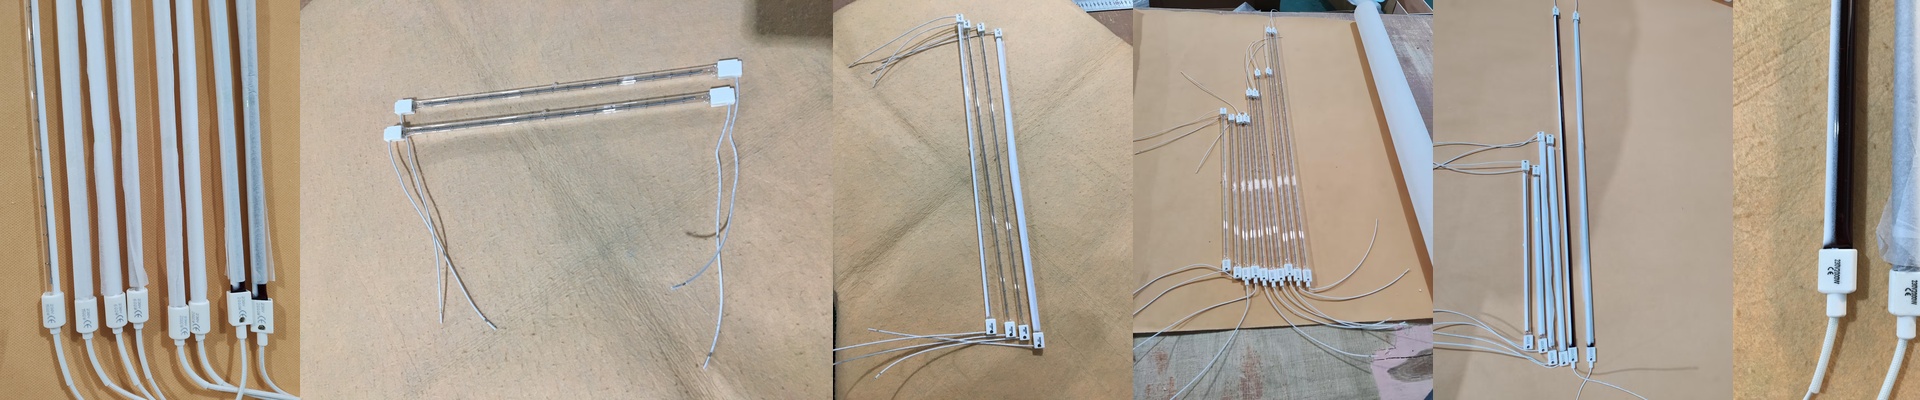
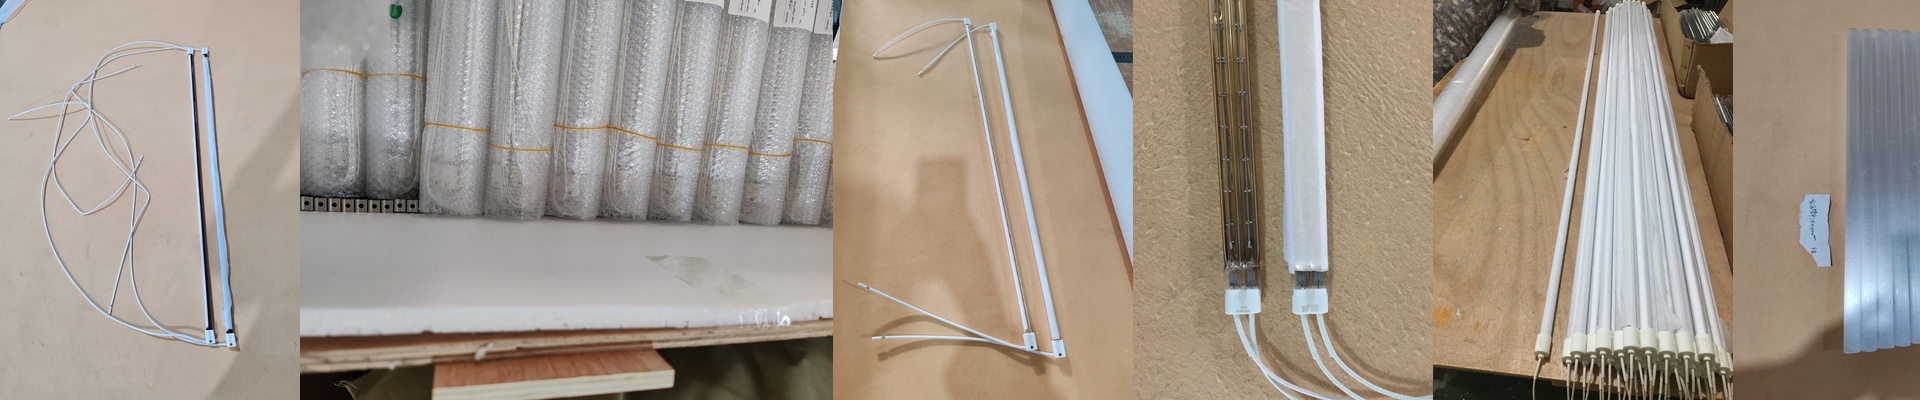
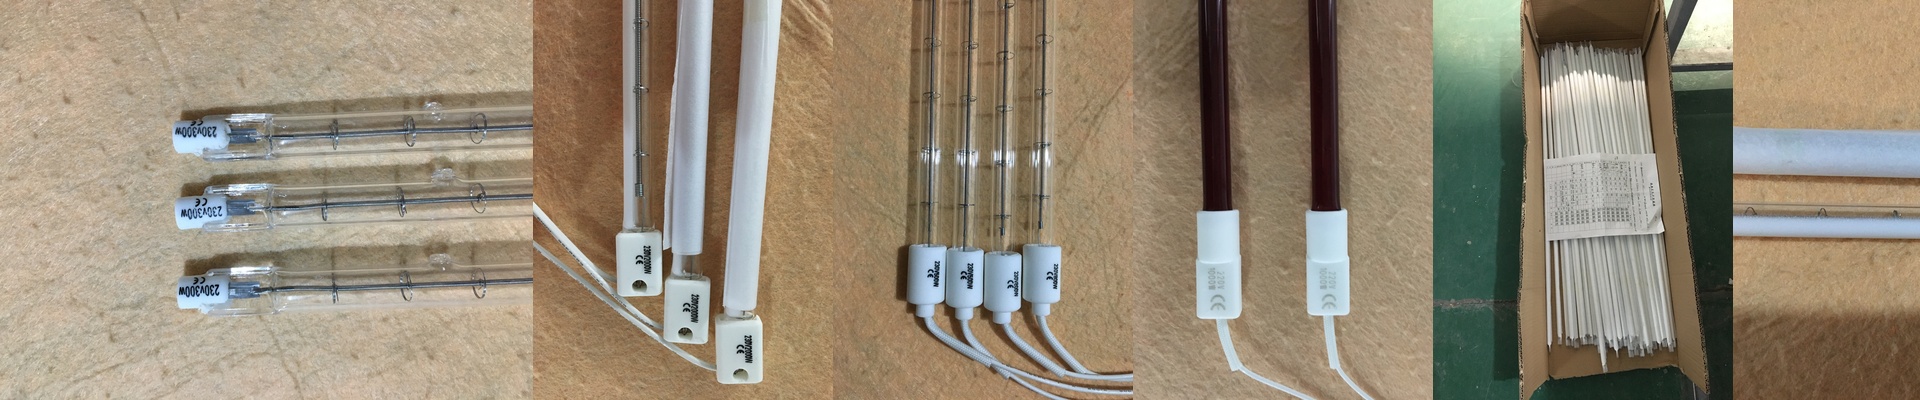
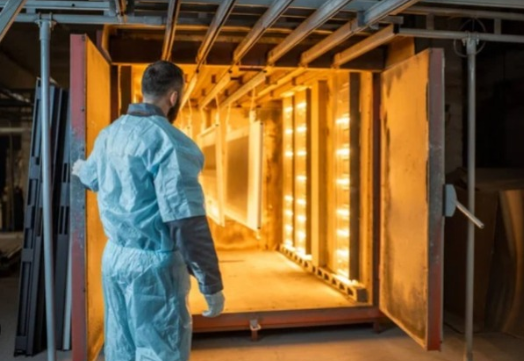
Setting up a tunnel oven is usually a nightmare of guesswork. You wire everything up, push a few test parts through, and just… pray. You stare at the curing recorder, hoping the parts hit the target temp without turning into charcoal. I’ve seen too many shops waste weeks on this trial-and-error loop. It happens because nobody actually knows how the heat is moving through that specific oven footprint until it’s already too late. Stop guessing. Start simulating. This is where a virtual model comes in. Instead of playing a guessing game with physical hardware, we build a 1:1 digital version of your oven. We plug in the heating elements, the conveyor speed, and the actual shape of your parts. You can spot the cold spots before you’ve even spent a dime on components. It lets you nail down the lamp spacing and wattage on a screen first. If your recorder shows a part is under-curing in the middle, you don’t have to spend your afternoon manually shifting lamps and sweating on the shop floor. You just tweak the virtual layout, check the heat flux, and then make the fix once. The catch? You need good data. Simulation isn’t a magic wand. If you feed the software garbage material specs—like wrong thermal conductivity or emissivity—the simulation will lie to you. It takes a bit more legwork upfront to get the model right. But honestly? That’s a fair trade-off compared to burning through a hundred scrap parts. The real-world win When you predict before you produce, you stop wasting time during commissioning. You get a layout that hits the curing window on the first run. Just a heads-up: make sure your cooling systems can actually handle the heat density the simulation suggests. Otherwise, you might find yourself warping the oven housing.